
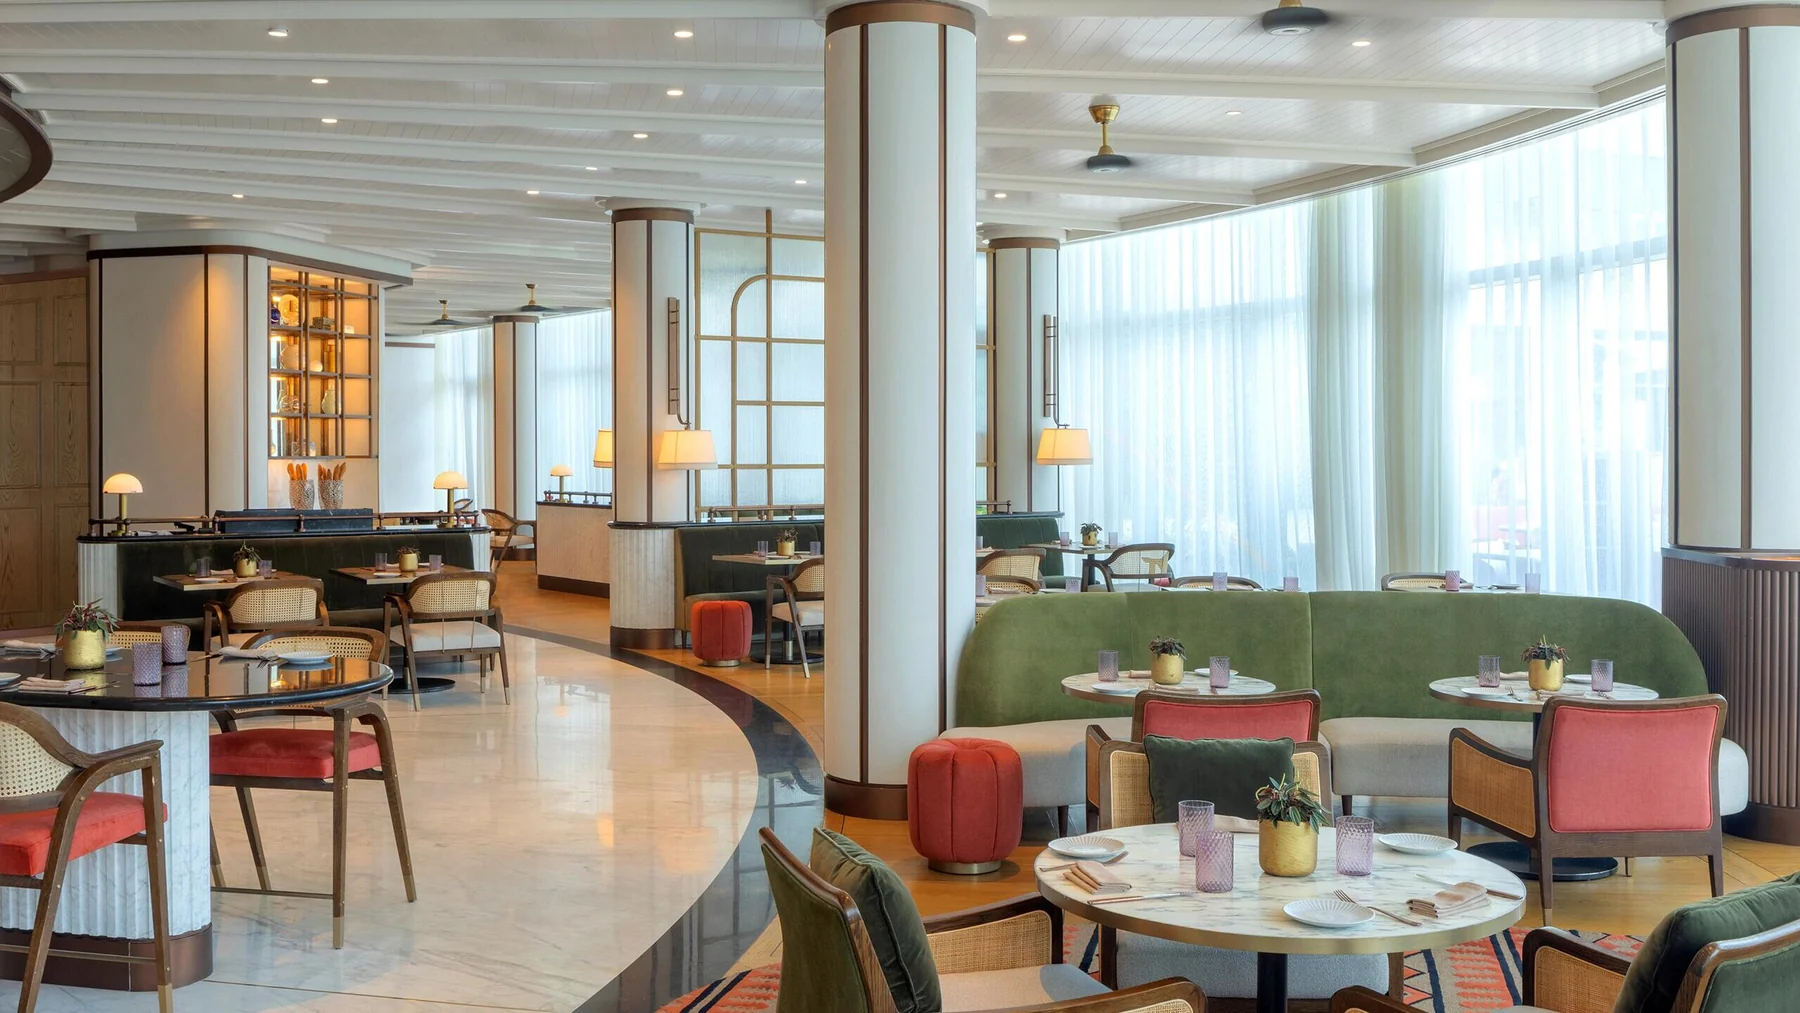
A plan can label 72 restaurant covers and still be unready for furniture release. A chair may collide with the route to a banquette. A server carrying a tray may meet a guest pulling out from a four-top. A compliant dining position may exist on paper but remain unreachable when neighboring chairs are occupied. None of those conflicts appears if the team counts tabletops and empty floor area only.
Treat the cover count as an output of the restaurant furniture layout plan, not the first fixed input. Start with the real furniture envelopes and the journeys the room must support. Then decide which positions are releasable, which are conditional and which must be held.
Start with four journeys, not maximum covers
Print the current plan at a usable scale and trace four journeys in different colors:
- Arriving guest: entrance or host point to the assigned table, including turns, waiting points and access to different seating zones.
- Seated guest: chair pull-out, sitting position, standing, and movement to facilities or the exit while neighboring places are occupied.
- Service team: kitchen, bar or service station to every place setting while carrying the items required by the operating concept.
- Clearing and reset team: used items, cleaning equipment, replacement settings and any furniture movement between service periods.
The paths do not need to be completely separate. They do need to remain understandable when they intersect. Circle every crossing where two activities cannot occur together without a chair being moved, a guest waiting or a staff member reversing course. That circle becomes a route-conflict record, not a detail to hide under the nominal capacity.
Lock fixed constraints and authority inputs first
Before moving tables, mark the elements the furniture plan cannot casually change: columns, walls, doors, level changes, fixed banquettes, bar fronts, service counters, floor outlets, lighting centers, ventilation interfaces and authority-controlled routes. Add the operating inputs that may change the plan: service style, expected party mix, table joining, host procedure, clearing route, accessible dining requirements and reset frequency.
Assign an owner to each uncertain input. The designer may control a table center; the operator may own the service sequence; the architect and qualified code team own authority interfaces. A furniture plan should not silently resolve work outside its authority.
Turn this markup into a fixed-input map with three states. LOCKED means the position and revision can be used for coordination. PROVISIONAL means the team may plan around it, but the named owner still owes a decision. EXCLUDED means the element sits outside the current furniture review and must be coordinated by another discipline. Date every state. Otherwise, a table move can appear to solve circulation while actually violating a lighting center, floor box, door operation or unresolved authority route.
Keep assumptions visible beside the plan. If chair depth, bar-stool rotation, banquette face or service-station operation is unknown, write the assumed value and its expiry condition. An assumption is useful for progress only when the team can see what must be replaced before release.
Draw the loaded-chair envelope
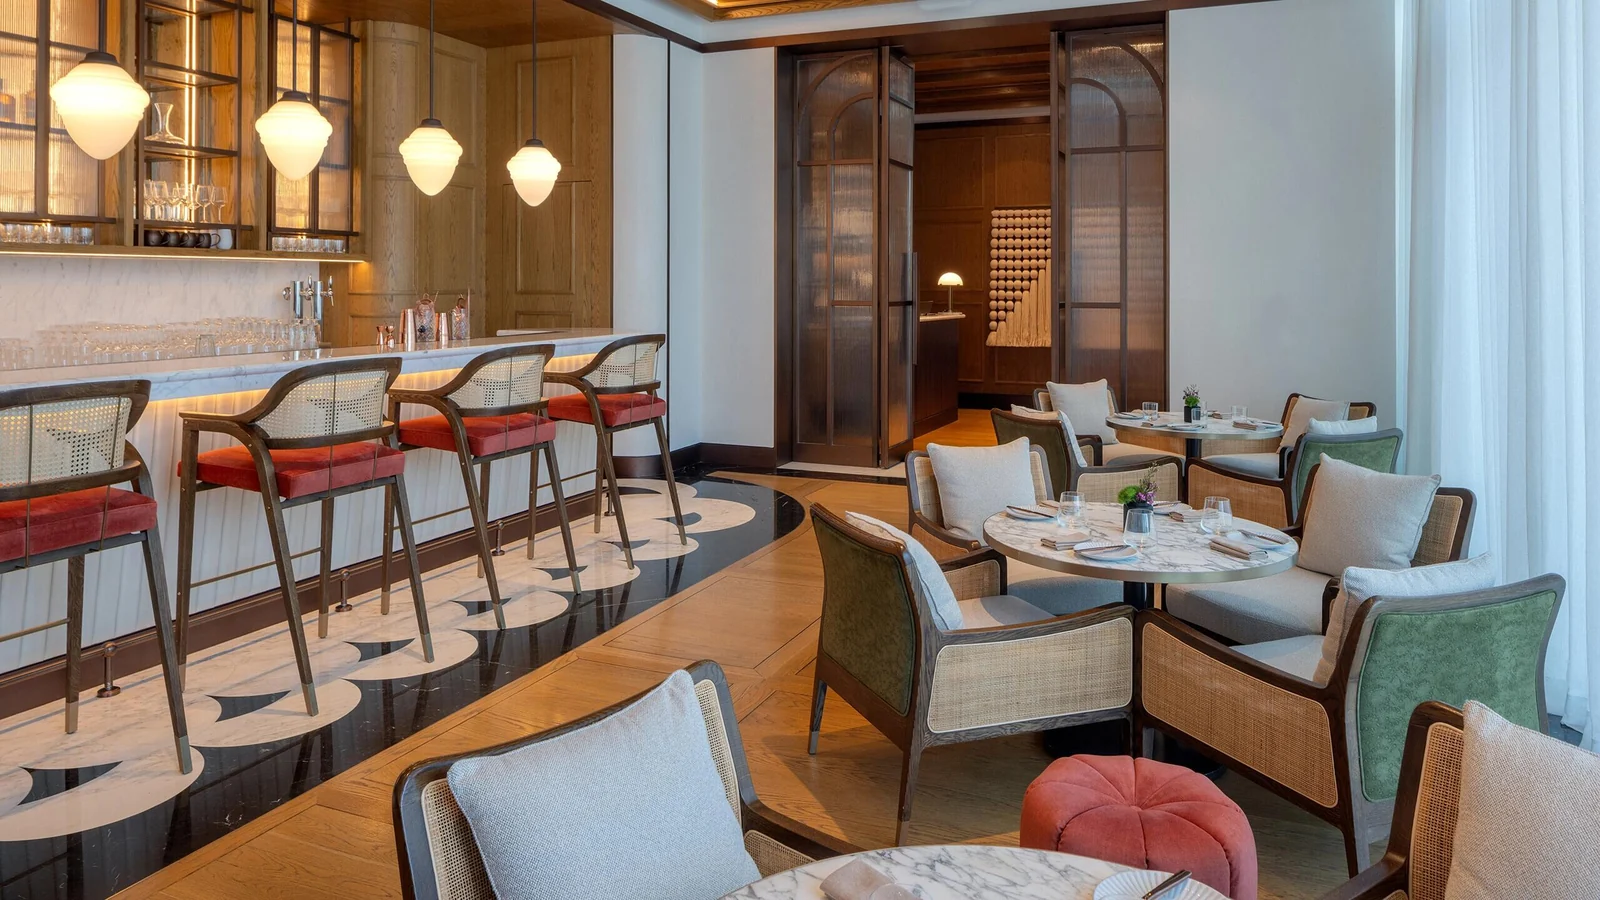
A tabletop outline is not the furniture footprint. For each seating type, draw a loaded-chair envelope using the actual proposed dimensions:
- the tabletop, base and any structural projection;
- the chair in its occupied position;
- the chair pulled back far enough for the intended guest to enter or leave;
- arm, back or handle projections that can meet a wall or adjacent chair;
- the approach needed to clean, join, separate or replace the furniture.
Use separate blocks for side chairs, armchairs, bar stools, banquettes and movable group tables. Do not substitute one generic chair symbol if the products have different widths, depths or pull-back behavior. Record whether each block is approved, provisional or assumed so a later product change triggers a plan review.
Where a furniture family has options, draw the largest proposed operating envelope or show each option separately. The goal is not to make every block artificially large. It is to stop a plan approved with a compact armless chair from being inherited by a deeper armchair without review. Give each digital block the same item code and revision used in the furniture schedule so the geometry and specification cannot drift unnoticed.
Overlay guest, service, accessible and reset routes
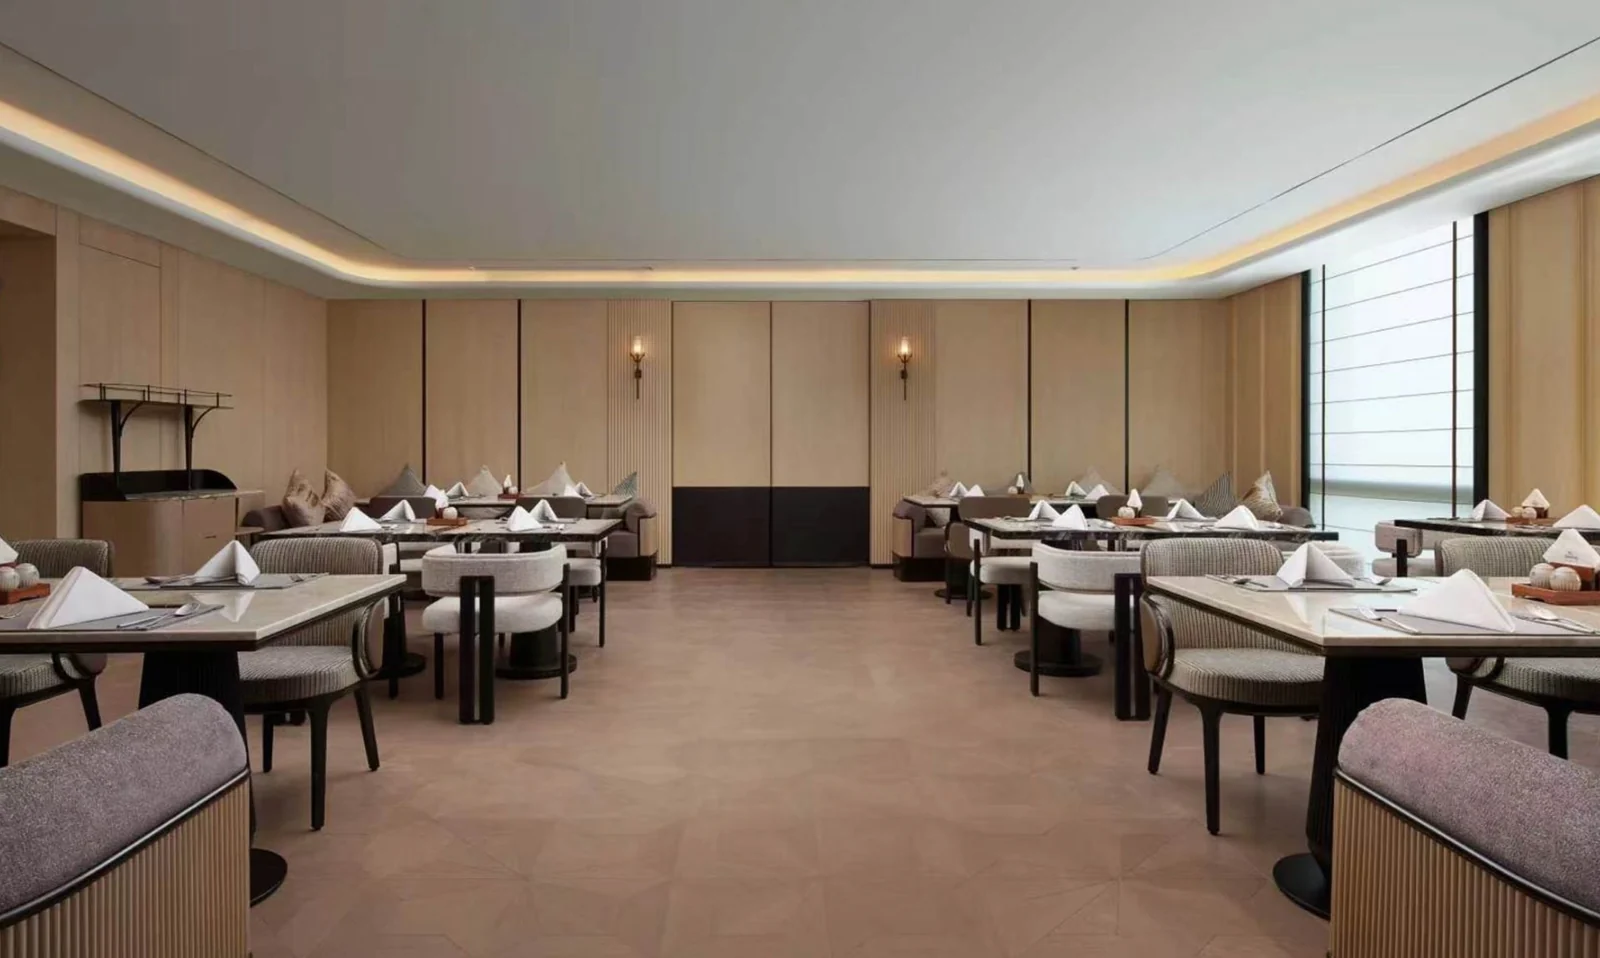
Place the four journey traces over the loaded-chair envelopes. Review the route at turns, service-station approaches, door swings, column pinch points, banquette ends and transitions between loose and fixed seating. A straight line through empty chairs is not a route if those chairs block it in the occupied state.
Accessibility is one input to this review, not a final code approval. For U.S. facilities covered by the 2010 ADA Standards, Section 226 requires at least 5 percent of seating and standing spaces at dining surfaces to comply with Section 902, with the required compliant dining surfaces dispersed. Section 902.2 requires clear floor or ground space positioned for a forward approach with knee and toe clearance. See the current official 2010 ADA Standards for the exact federal provisions.
Those provisions explain why a tabletop dot is not enough, but they are not a complete project check. The qualified team must confirm the applicable accessibility, egress, fire, health, lease and local authority requirements for the destination jurisdiction before release.
Stress-test three room states
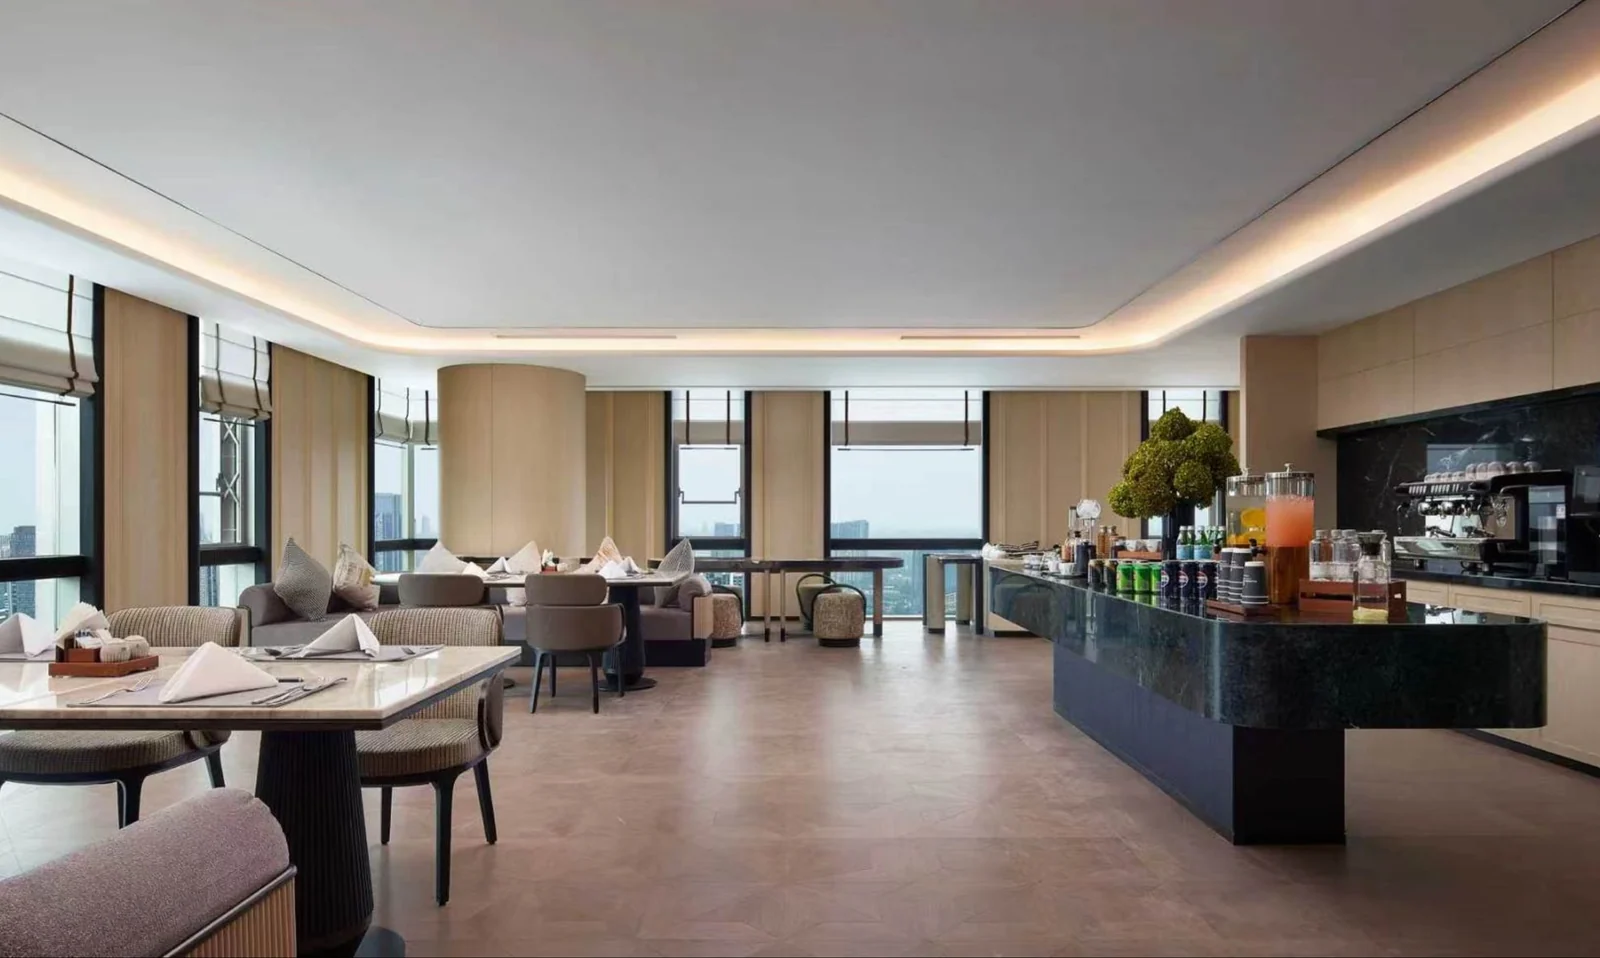
A tidy, empty dining room is only one state. Run the same plan through three short simulations:
- Arrival and empty: chairs placed as presented, guests arriving in groups, host queue active and tables waiting for assignment.
- Peak occupied: chairs pulled back by different amounts, staff serving and clearing, guests moving, and high-use tables turning.
- Clearing, reset or reconfiguration: trays, cleaning tools and replacement settings moving while tables may be joined, separated or reset.
For each state, add a row to the route-conflict log: plan location, conflicting journeys, triggering furniture position, operating consequence, owner, proposed correction and release condition. A conflict is closed only when the revised plan or mock-up demonstrates the change. “Staff will manage” is not a closure record.
Reconcile the table mix before the cover count
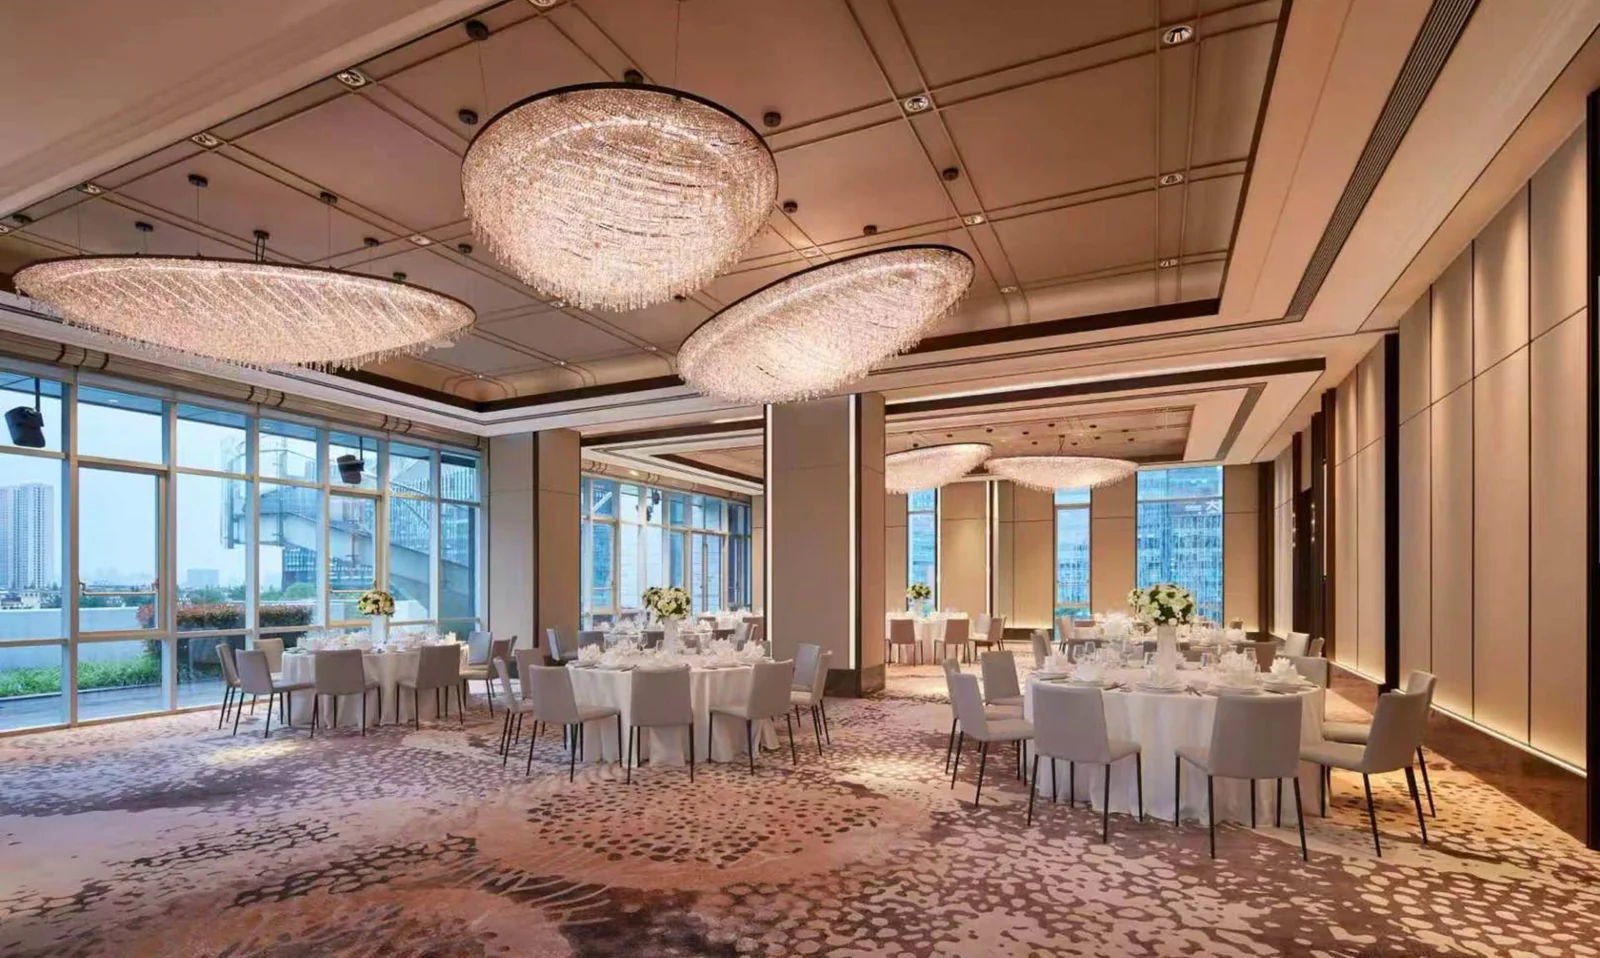
Table mix affects more than arithmetic. A two-top that can join another table changes bases, centers and service approach. A long private-dining table changes end access and the time needed to reset. A banquette fixes one edge while loose chairs expand the opposite edge. Review each family as an operating condition, then recalculate covers from the positions that passed.
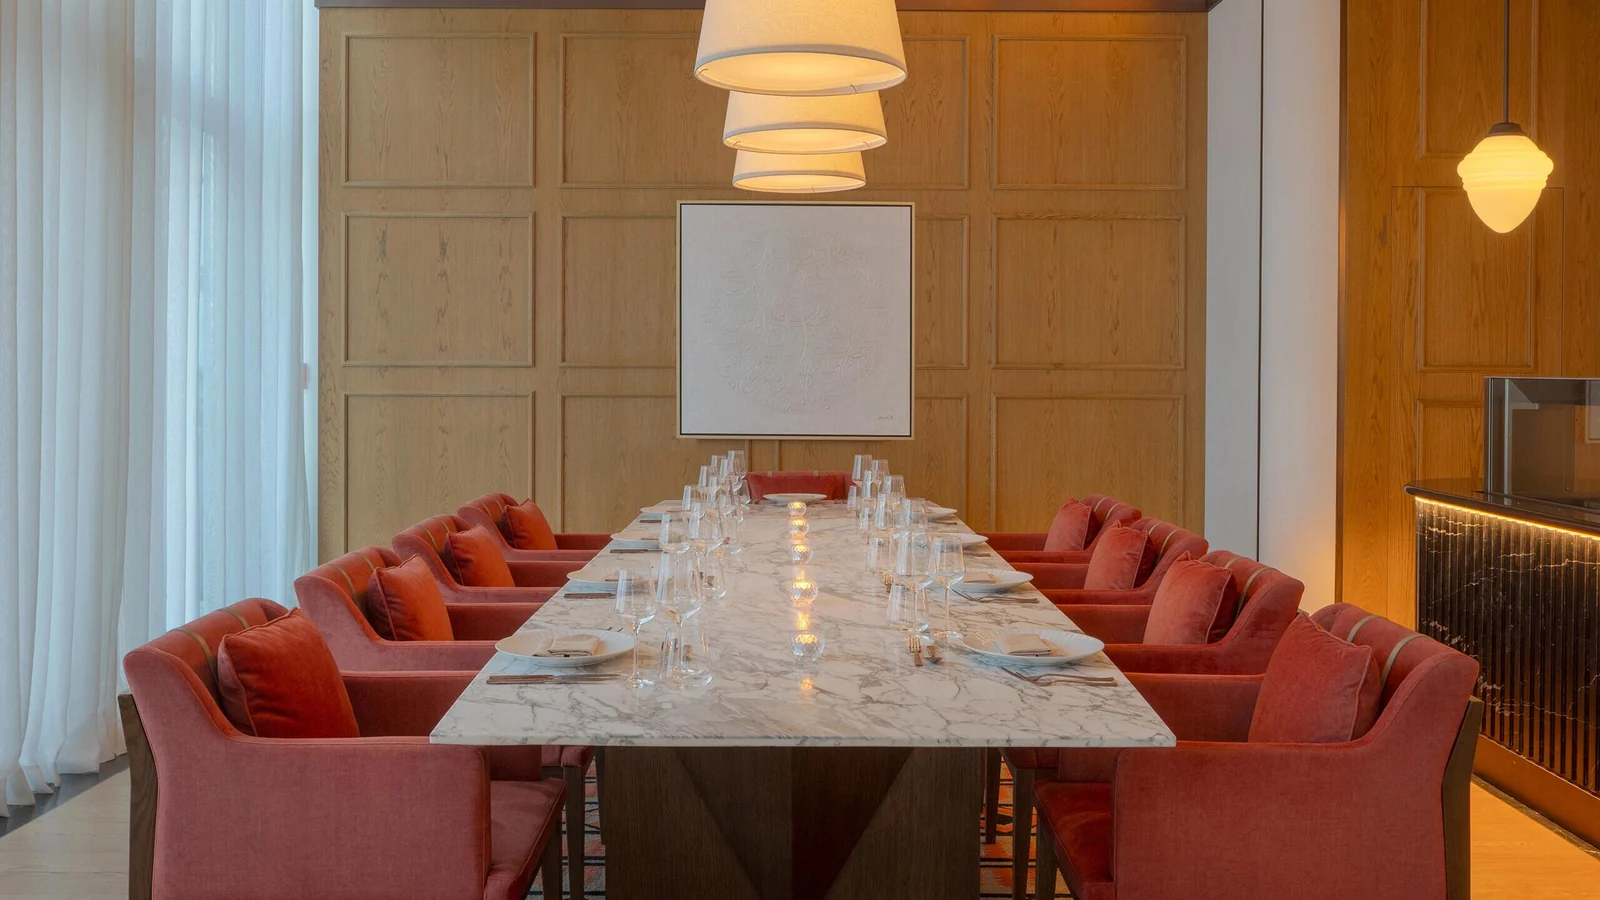
The comparison below is hypothetical. It illustrates a release decision only; it is not a capacity recommendation, measured project or universal spacing rule.
| Review field | Plan A: nominal 72 covers | Plan B: provisional 68 covers |
|---|---|---|
| Furniture basis | Generic table and chair symbols | Actual proposed table sizes and loaded-chair envelopes |
| Four-top near service route | Counted as four covers | Held because a pulled-back chair intersects the peak-service route |
| Other seating | Accepted from the empty plan | Retained after the three-state review, subject to open authority inputs |
| Release decision | Do not release from cover count alone | Release 68 positions provisionally; keep one four-top on hold |
| Close-out action | None recorded | Mock up the conflict zone and retest the route before restoring four covers |
Convert the plan into a furniture release schedule
The approved drawing and the furniture order should describe the same objects. Create a layout-to-furniture release schedule with one row per item family or controlled position. Include:
- plan reference and furniture code;
- tabletop dimensions, base location and joining rule;
- chair width, depth, arm height and relevant movement envelope;
- banquette datum, seat division and table-center relationship;
- floor, wall, power, lighting or millwork interface;
- approved drawing, finish and prototype revision;
- quantity released, quantity held and reason;
- owner and evidence required to close each hold.
This schedule stops a familiar failure: the layout is approved with one assumed chair, then purchasing or production introduces a deeper chair while the cover count remains unchanged. A dimension change should reopen only the affected plan positions, but it must reopen them.
Mock up the highest-risk conflict zone
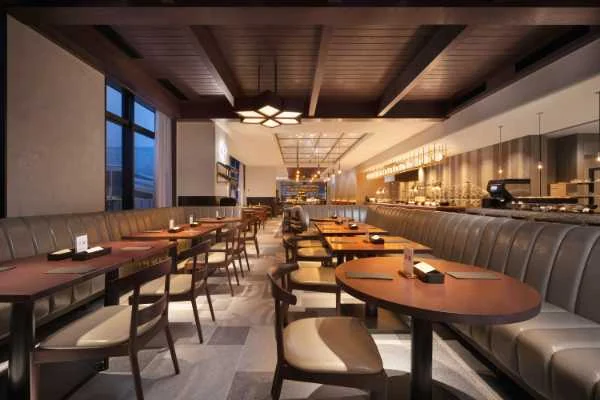
Do not mock up the easiest table. Select the zone with the most consequential unresolved overlap: a bar-to-table transition, banquette end, service-counter approach, joined-table condition or accessible dining position beside active circulation. Mark the surrounding fixed elements and place the actual prototype or dimensionally accurate substitutes.
Run the four journeys in the three states. Record the furniture revision, participants, observed conflict, agreed change and photographs or measurements needed for close-out. A mock-up is most useful when it answers one release question; it should not become an unstructured preference meeting.
Test the correction, not just the problem. If the response is to shift a table, repeat the service and guest journeys and check the neighboring zone. If the response is to change the chair, update its envelope and the release schedule. If the response depends on an operating rule, name who will own that rule after opening and whether the layout remains usable when the rule is not followed. Close the log only after the agreed evidence is attached.
Release positions, not optimism
At the final review, mark each furniture position RELEASED, CONDITIONAL or HELD. Released positions have controlled furniture data and no unresolved plan conflict within the review scope. Conditional positions name the missing input and the person who must close it. Held positions stay out of ordering until their conflict is resolved. Keep authority approvals and design changes under the responsible project disciplines.
Gainwell’s Restaurants & Clubs solution page describes its review of furniture spacing, chair handling, table stability, cleaning and service access within restaurant and club applications. If the project has reached layout review, share the floor plan, intended covers, venue concept, furniture list, materials and operating requirements through the Gainwell contact page. The useful starting question is not “How many tables fit?” but “Which exact positions can operate and be released with the furniture selected?”
Frequently Asked Questions
How do you start a restaurant furniture layout plan?
Begin with the fixed room constraints and four journeys: guests, staff service, accessible use and reset or cleaning. Mark entrances, exits, columns, service points and authority-controlled requirements before placing furniture. Then test table mixes and loaded chair positions against those routes.
How much space do restaurant chairs need?
Use the actual loaded-chair envelope rather than one universal dimension. Seat depth, pull-out movement, occupied position, table base, adjacent chairs and traffic all affect the space required. Applicable accessibility and building requirements must be confirmed for the live jurisdiction and plan.
How should service and accessible routes be checked?
Overlay them as separate paths, then test where they cross at entries, server stations, tight table rows and changes in level. Use the applicable authority inputs for accessible routes and turning or approach requirements. This article's method is a coordination aid, not code approval.
Why should a restaurant layout be marked out before ordering furniture?
A full-scale tape or mock-up check reveals chair pull-out, staff passing, guest entry, table-base conflicts and reset movement that a clean plan can hide. Test the highest-risk zone with representative furniture and record the room state and item dimensions used.
What should be included in a restaurant furniture release schedule?
List the item code, type, dimensions, quantity basis, zone, table pairing, current drawing, finish reference, sample status and approved position. Record variants and held decisions. The release schedule should preserve the plan basis instead of allowing later substitutions to silently change the tested layout.