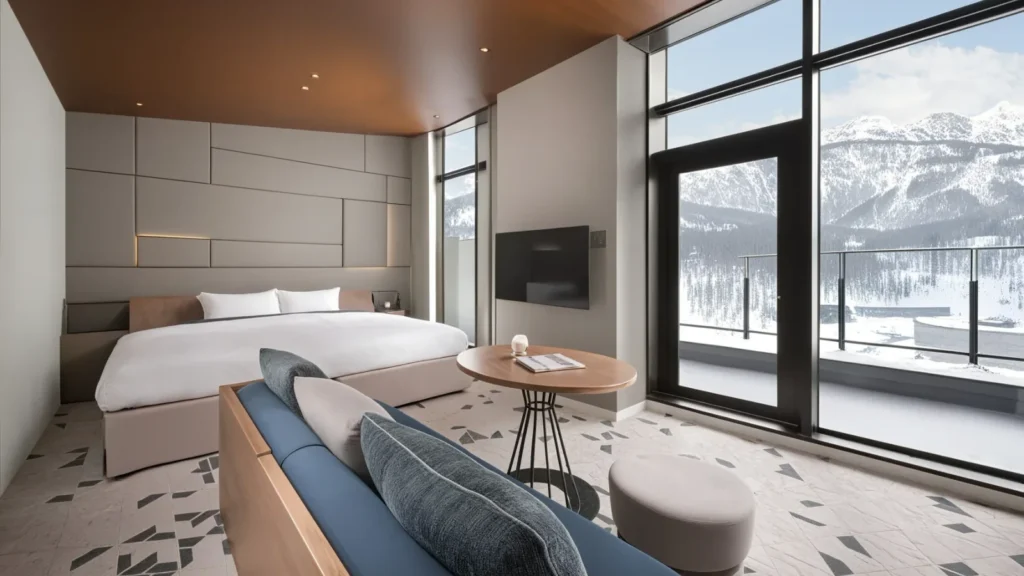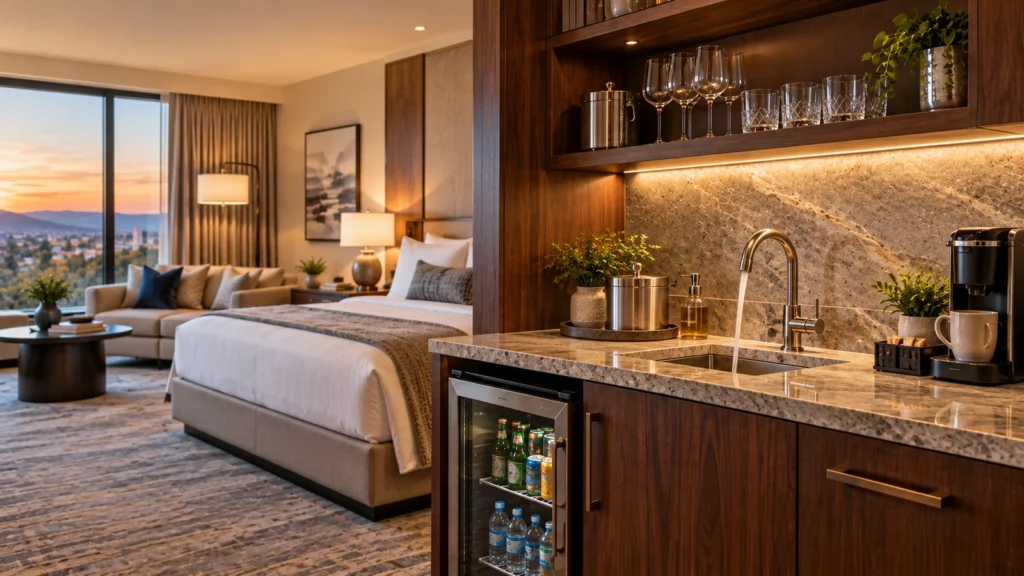


Accessible hotel room design should allow guests to enter, move through and use the main room functions without furniture or fixed elements blocking the required accessible space. The bed, storage, desk, seating, controls and bathroom approach therefore need to be coordinated as part of one room layout rather than treated as separate accessibility features.
The furniture package also needs its own review. A nightstand, wardrobe or desk may work in a standard guestroom but require a different size, position or configuration in an accessible room.
Exact dimensions and technical requirements depend on the project location, applicable accessibility requirements and approved project documents. The furniture team should therefore work from the criteria identified by the responsible project professionals rather than applying one universal set of dimensions to every hotel.
Start With the Accessible Route Through the Room
The most useful starting point is the route a guest needs to use through the completed room.
That route normally connects the entrance with the sleeping area, storage, bathroom and other usable parts of the guestroom. Once the required circulation, maneuvering and access areas have been identified, furniture should be arranged around them.
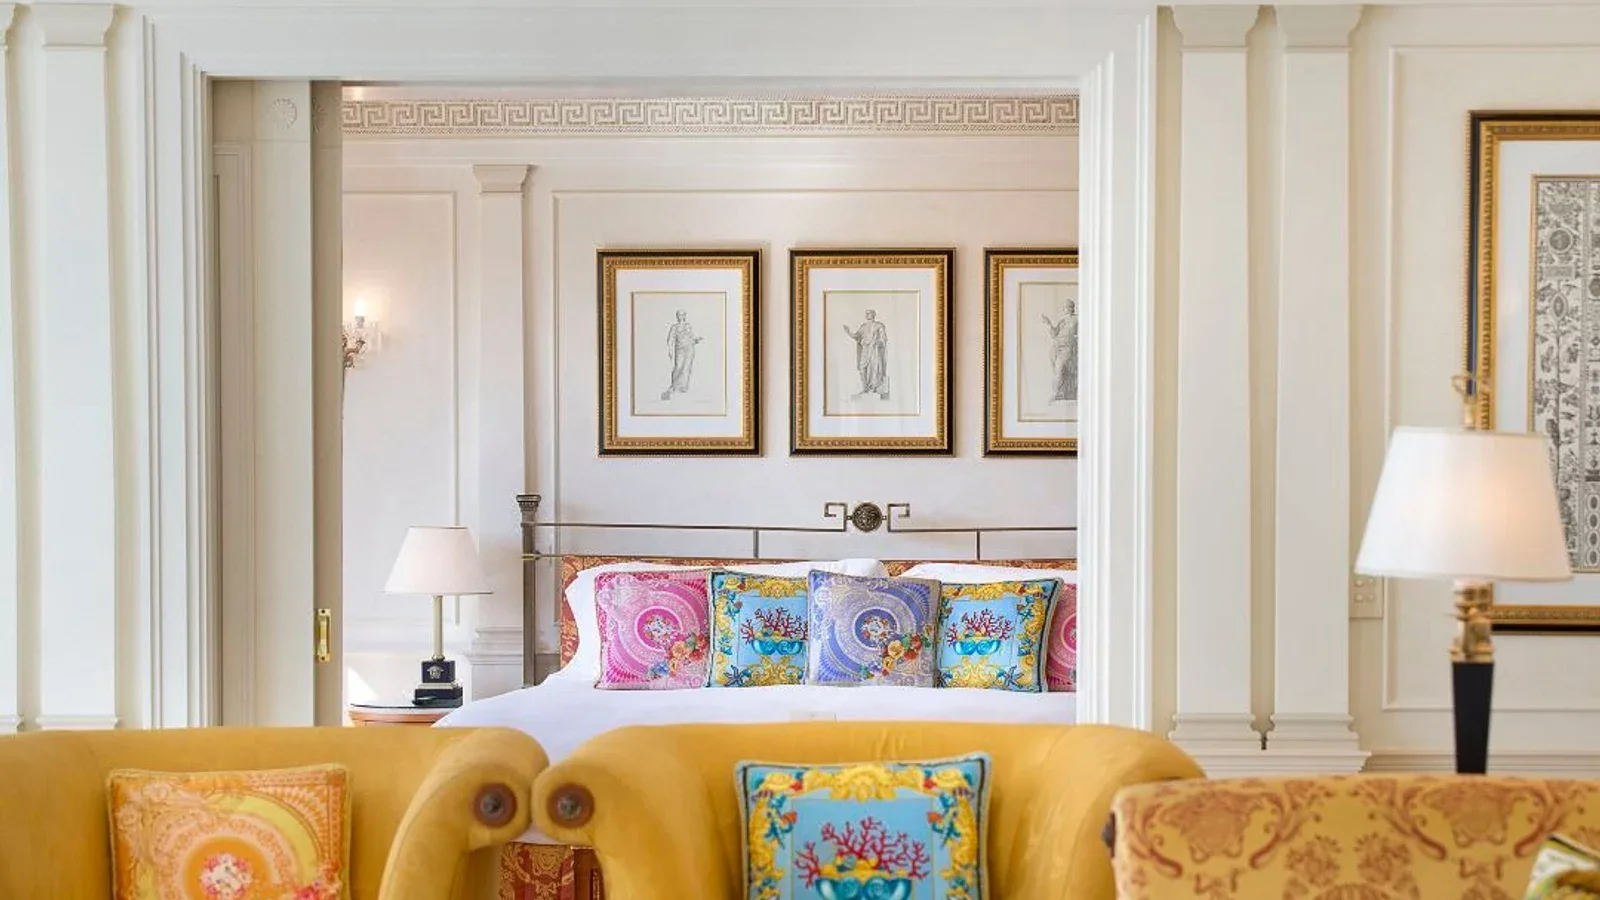
This sounds straightforward on a clean floor plan, but conflicts often appear after the furniture is shown in use.
A wardrobe may fit against the wall while its open door extends into the main route. A desk chair may appear compact when pushed in but reduce circulation when occupied. A luggage rack, lounge chair or occasional table may later be placed inside an area that the room design expected to remain open.
The layout should therefore be checked with furniture in realistic operating positions.
Review:
- Wardrobe and cabinet doors when open
- Drawers when fully extended
- Desk or dining chairs when occupied
- Luggage in its intended position
- Bedside furniture and movable seating
- Guestroom and bathroom doors
- Any loose furniture that may be moved during normal use
The same approach should be used for required maneuvering or turning areas. Once those spaces have been established by the project team, they should remain usable after the complete FF&E package is installed.
Avoid treating visible empty floor area as automatically available for another furniture item.
A better test is to ask whether the main room functions can be used at the same time without one activity blocking another. If opening the wardrobe, using the desk or placing luggage forces another piece of furniture into the main circulation route, the layout still needs work.
Coordinate the Bed and Bedside Area
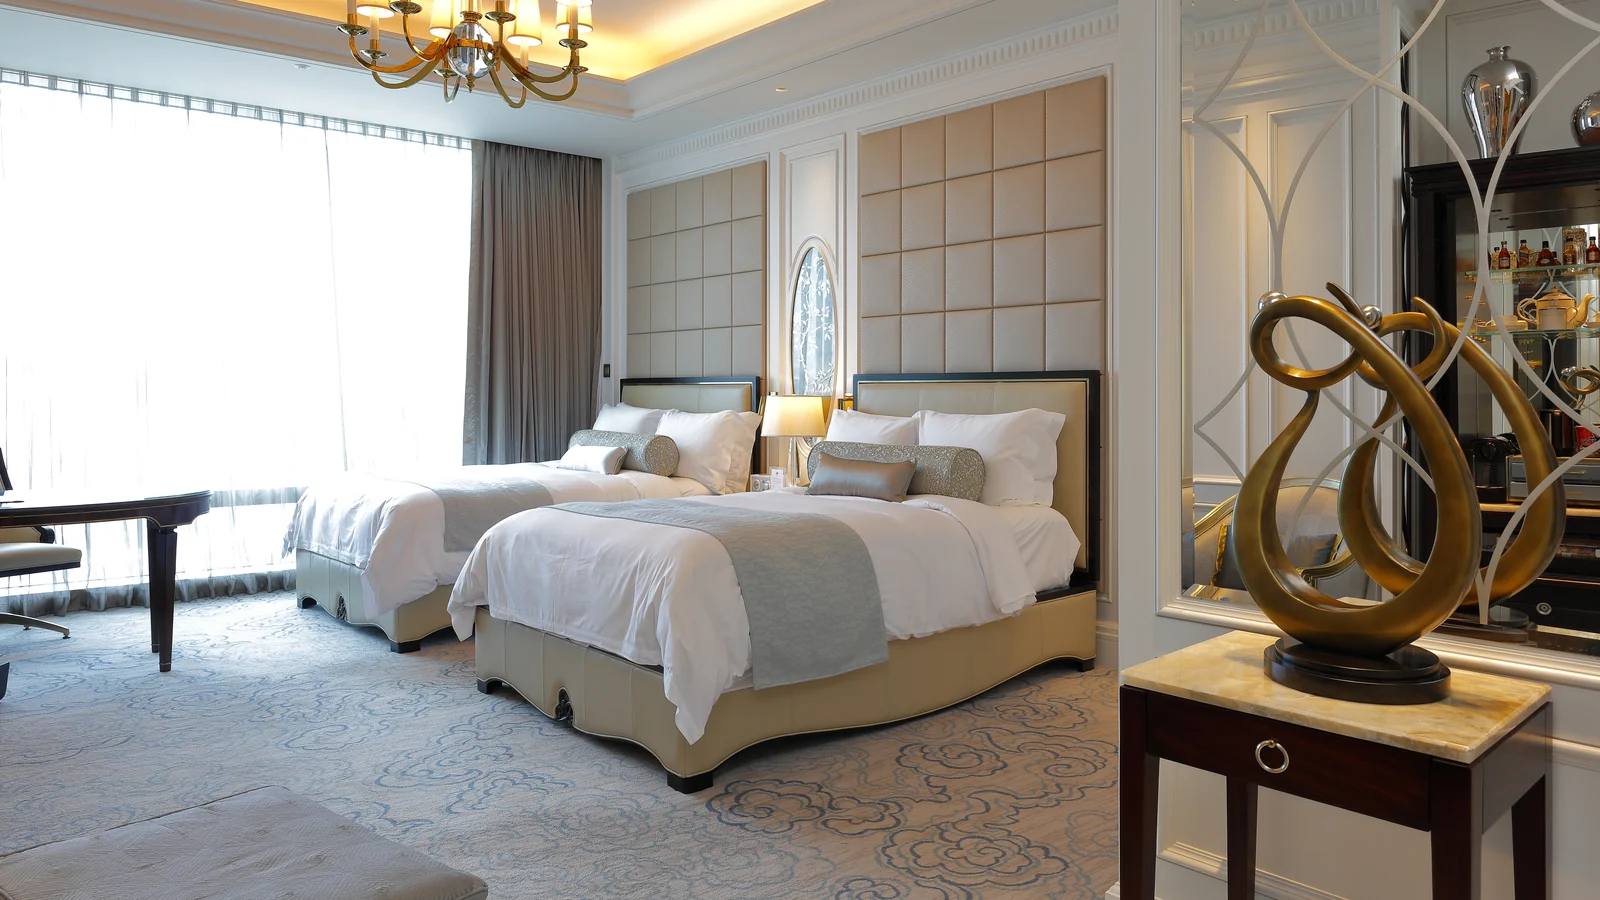
The bed often determines how the rest of an accessible guestroom works.
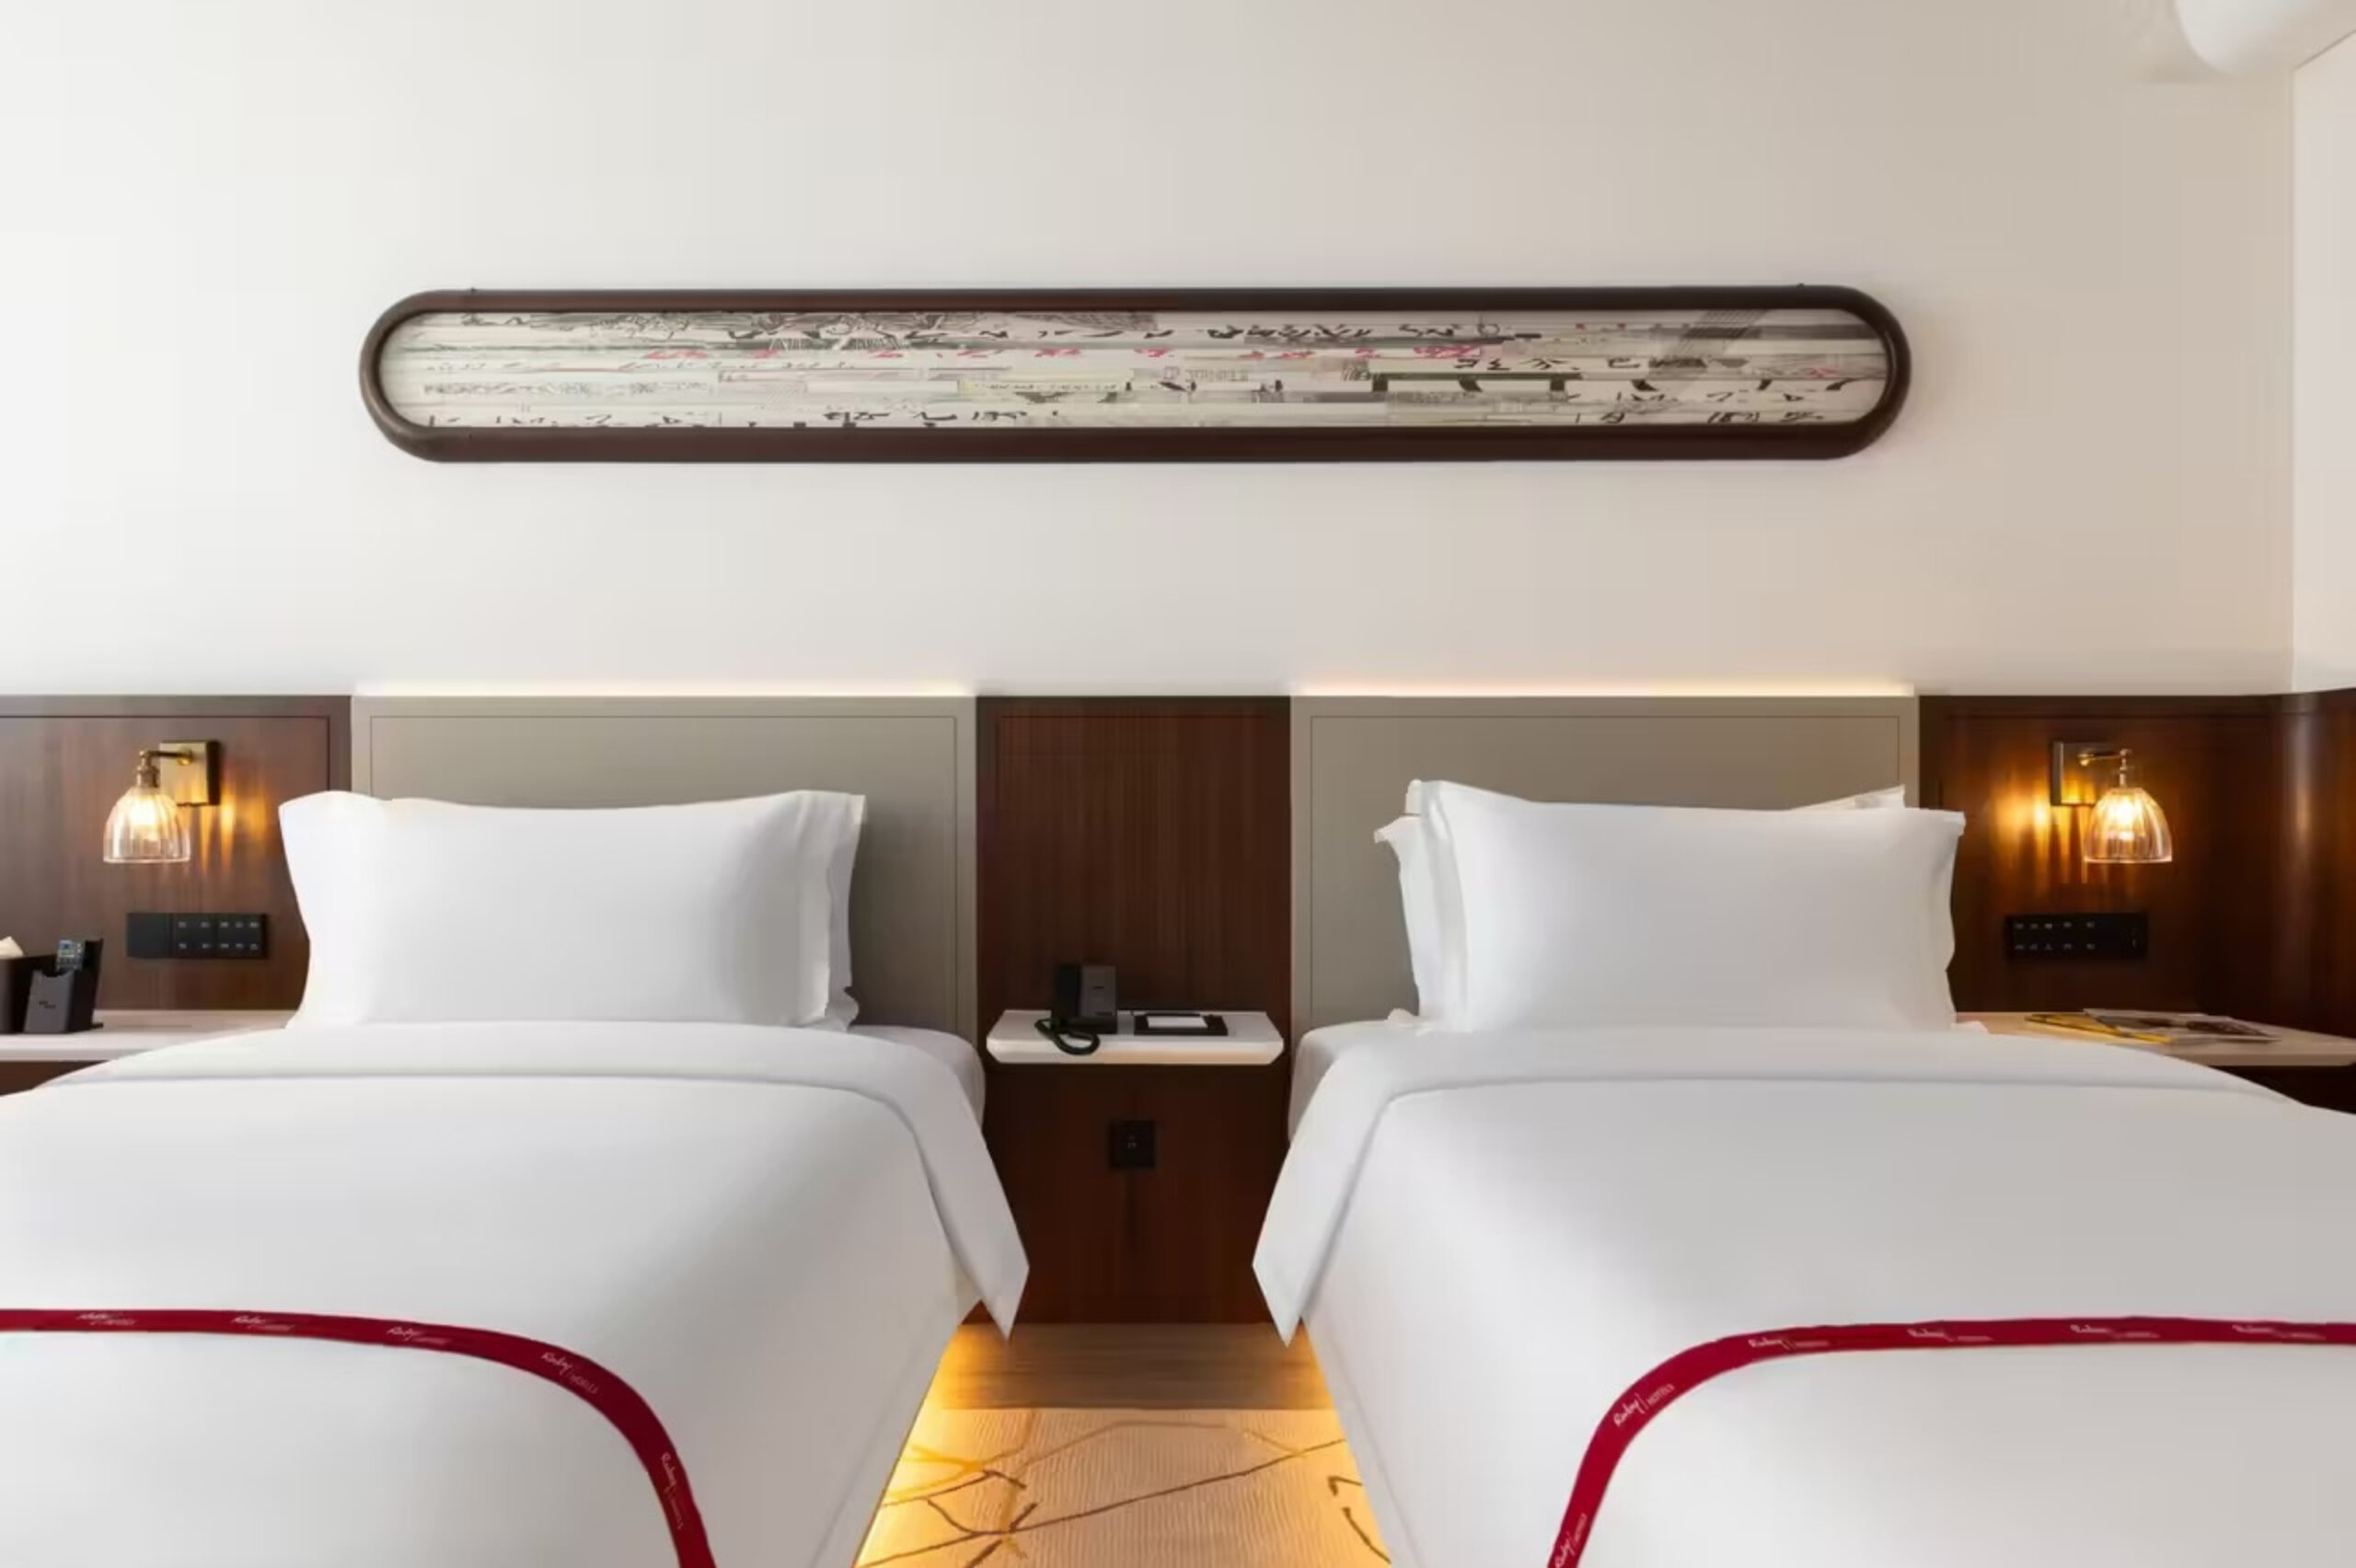
Its location affects bedside access, circulation, headboard dimensions, nightstand placement and the position of lighting, switches and power.
Start with the complete bed system rather than the mattress alone.
Mattress depth, base or frame, upholstery and the approved bedding build-up all contribute to the finished bed condition. A furniture drawing that identifies only the nominal mattress size may not give enough information to coordinate the surrounding furniture.
The bedside area should then be reviewed as one furniture and service zone.
A nightstand that looks appropriate in the standard room may need to change in width, depth or position when it is placed beside the accessible bed. Drawers, projecting handles or decorative details should also be checked in their operating positions.
The headboard adds another layer of coordination.
If lighting, switches, outlets or charging points are integrated into or positioned beside the headboard, their final locations need to reflect the approved furniture arrangement. Moving the bed or changing the nightstand after those services are fixed can create an avoidable conflict.
For that reason, standard-room information should not simply be copied into the accessible variant.
The same visual furniture family can still be used across the hotel. The guestroom furniture may share finishes, forms and overall design language, while selected dimensions or configurations differ between room types.
The important point is that those differences are intentional and documented.
Plan Storage, Work and Seating Around Actual Use
Accessible hotel room furniture should be evaluated by how it is operated, not only by how it appears in elevation.
Storage is one of the clearest examples.
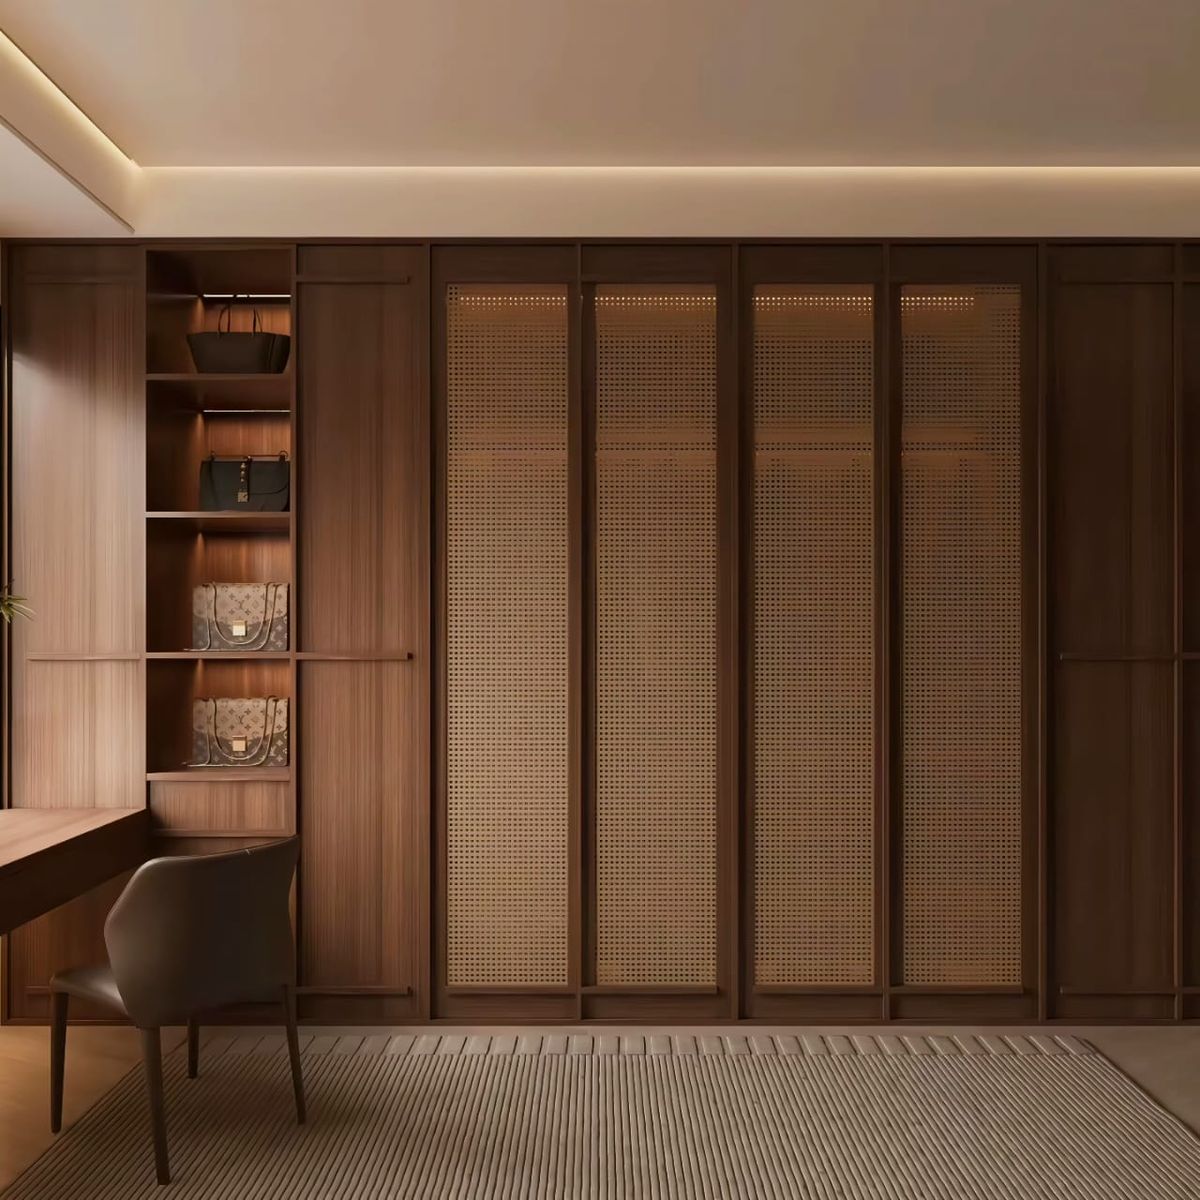
A wardrobe may include hanging space, shelves, drawers, a safe and luggage storage, but the presence of those features does not automatically make them practical.
Review where each component is located and how it is reached. Then check what happens when the furniture is actually used.
An open wardrobe door should not block the main route. A pulled-out drawer should not create a new conflict with nearby furniture. A safe or shelf should not be positioned where another casegood makes it difficult to approach.
The internal arrangement may also need to differ from the standard room even when the exterior wardrobe design remains the same.
Luggage storage deserves the same attention.
A bench or luggage rack can be useful, but its location should be established during the room planning stage. Adding one later simply because there appears to be unused space can reduce the usable area around the bed, entrance or storage zone.
Desks and tables should also be reviewed in their operating condition.
The relevant dimensions and usable space should follow the project’s approved accessibility criteria. The furniture construction then needs to preserve those conditions.
A desk may appear suitable from the front while a drawer unit, support panel or pedestal reduces the actual space underneath. A chair that fits neatly below the tabletop may extend into the circulation route when someone is seated.
Power and charging locations should be checked at the same time. A socket behind a deep cabinet or an outlet that becomes difficult to approach after the desk is installed may need coordination even if its position looks correct on the electrical drawing alone.
Loose seating can create similar issues.
A lounge chair, bench or occasional table should have a clear purpose and a defined position. Its footprint should be considered together with armrests, cushions and the space required to approach or use it.
The goal is not to remove furniture from the room. It is to make sure each piece supports the guestroom programme without creating a new barrier.
Coordinate Furniture With Bathroom and Room Interfaces
The accessible furniture layout does not operate independently from the rest of the room.
Architectural elements, bathroom access, lighting, electrical services and fixed cabinetry all influence where furniture can be placed and how it can be used.
The bathroom entrance is a common coordination point.
A luggage bench, minibar cabinet or storage unit positioned nearby may appear to fit along the wall while affecting the approach to the bathroom door. Door swings or sliding-door clearances also need to be understood before adjacent furniture is finalized.
The furniture scope does not need to redesign the accessible bathroom, but it does need to respect the approved architectural solution.
The same principle applies to controls and services.
Bedside switches, outlets, thermostats, lighting controls and other devices can become more difficult to use if a headboard, nightstand or fixed panel is changed without checking the interface.
A decorative wall panel may also shift the finished surface forward. A deeper cabinet can reduce access to equipment positioned beside it. A wardrobe handle or open door can conflict with another fixed element even when both work independently.
For custom architectural millwork and fixed furniture, these relationships should be shown on coordinated drawings rather than resolved only at installation.
Useful coordination points include:
- Current furniture position against the architectural plan
- Door and drawer operating envelopes
- Power and data locations
- Lighting and control positions
- Fixed panels and wall build-ups
- Hardware projections
- Bathroom approach areas beside furniture
- Equipment or service access within cabinetry
The furniture drawing does not need to reproduce every accessibility requirement. It should, however, be based on the current approved room information.
That distinction helps keep responsibilities clear while still preventing one package from undermining another.
Treat Accessible Rooms as Their Own Room Type
An accessible hotel room should not be created by taking the standard guestroom furniture package and moving a few pieces after the rest of the design has already been finalized.
The accessible and standard rooms may share the same visual concept, finishes and furniture families, but their production information may not be identical.
Differences can affect:
- Furniture dimensions
- Bedside configuration
- Furniture positions
- Wardrobe interiors
- Hardware
- Fixed cabinetry
- Service interfaces
- Item codes and quantities
These differences should be visible in the furniture schedule.
For example, a standard and accessible nightstand may use the same finish and front design while having different depth or internal construction. Two wardrobes may look identical from the corridor but use different shelf, rail or safe positions.
A headboard may maintain the same design language while its service cut-outs or relationship with the nightstand changes.
Those differences matter during procurement and production because appearance alone does not identify the correct variant.
The room-family structure should therefore be clear.
If a project includes accessible king rooms, accessible double rooms or different handed layouts, each relevant configuration should be connected to the correct furniture information.
Site conditions may create additional variants.
A structural column, connecting door, different bathroom orientation or change in wall build-up can alter the furniture envelope even when the room belongs to the same broad category.
The furniture package should make these variations traceable rather than expecting site teams to decide which version applies during installation.
Turn the Accessible Layout Into a Room-Specific Furniture Package
Once the accessible layout is approved, its differences need to be carried into the actual FF&E information.
This is where an accessible room can still go wrong even when the design itself is sound.
If the architectural plan clearly shows a different bedside arrangement but the furniture schedule lists the same nightstand used in the standard room, the project now contains conflicting instructions.
The room-specific furniture package should therefore identify the items that repeat and the items that vary.
At minimum, the schedule and current furniture drawings should make the following clear where relevant:
- Accessible room code or room family
- Bed and bedside configuration
- Nightstand variant
- Wardrobe and storage arrangement
- Desk or table configuration
- Seating position
- Fixed furniture differences
- Handed furniture where applicable
- Current drawing or item revision
Not every accessible room requires completely different furniture.
In many projects, most of the furniture family may remain common. The important step is identifying where the accessible layout creates a real variation rather than assuming either that everything must change or that nothing needs to change.
This distinction can also simplify procurement.
Instead of creating an entirely separate collection, the project may use controlled variants of selected items. A standard wardrobe and accessible wardrobe, for example, might share the same exterior materials while differing only where the room requirements make a change necessary.
Before those variants are repeated across multiple rooms, it is useful to review one representative accessible room with the actual or approved furniture dimensions wherever the project process allows.
The purpose is not to create another generic sample-room procedure. It is to check whether the furniture package still matches the approved accessible layout once the real bed, bedside furniture, storage, desk and fixed elements are introduced.
Any change that affects the approved accessible condition should return to the responsible project team for review before the change is repeated across the room population.
For broader guidance on coordinating furniture positions, operating clearances and room functions, see the guide to hotel room layout.
Custom Furniture for Accessible Hotel Room Projects
Accessible guestroom furniture development should begin with the approved room type, room drawings, accessibility requirements and furniture schedule. These inputs allow bed, bedside furniture, storage, workspaces and fixed elements to be developed around the actual room conditions rather than modified after the standard furniture package is complete.
Gainwell develops custom hospitality furniture for guestrooms and suites, including beds and headboards, nightstands, wardrobes, desks, casegoods, seating and fixed furniture. Accessible-room variants can be coordinated through drawings, material and finish development, furniture samples and production documentation.
If you are planning an accessible guestroom package, you can send the room plans and furniture schedule for review. Include the room variants, quantities, project location, applicable requirements and target programme so the furniture scope can be discussed against the actual project conditions.
Frequently Asked Questions
Do accessible hotel rooms need different furniture?
Not always. Some furniture can be shared with standard rooms, but dimensions, positions, storage details or configurations may need to change. Each accessible room type should be checked against its approved layout.
Can accessible hotel rooms use the same design style as standard rooms?
Yes. Accessible and standard rooms can share the same materials, finishes and overall design language. The differences are often in dimensions, placement or internal furniture details rather than appearance.
Does every accessible room need a completely separate furniture package?
No. A project can often use common furniture families with controlled variants for the items affected by the accessible layout. The furniture schedule should clearly identify which pieces repeat and which require a different configuration.
Can furniture be changed after the accessible room layout is approved?
Yes, but any change that affects circulation, bedside use, storage access, controls or other approved accessible conditions should be reviewed before it is repeated across the project.